
Landscaping tarp is familiar along highways where it is used to manage erosion and in parks where it peeks out from flower beds and borders. If used in private homes and gardens, a landscaping tarp can save hours of work and contribute to the beauty and manicured look to increase the home’s value. It has many uses.
To Manage Weeds
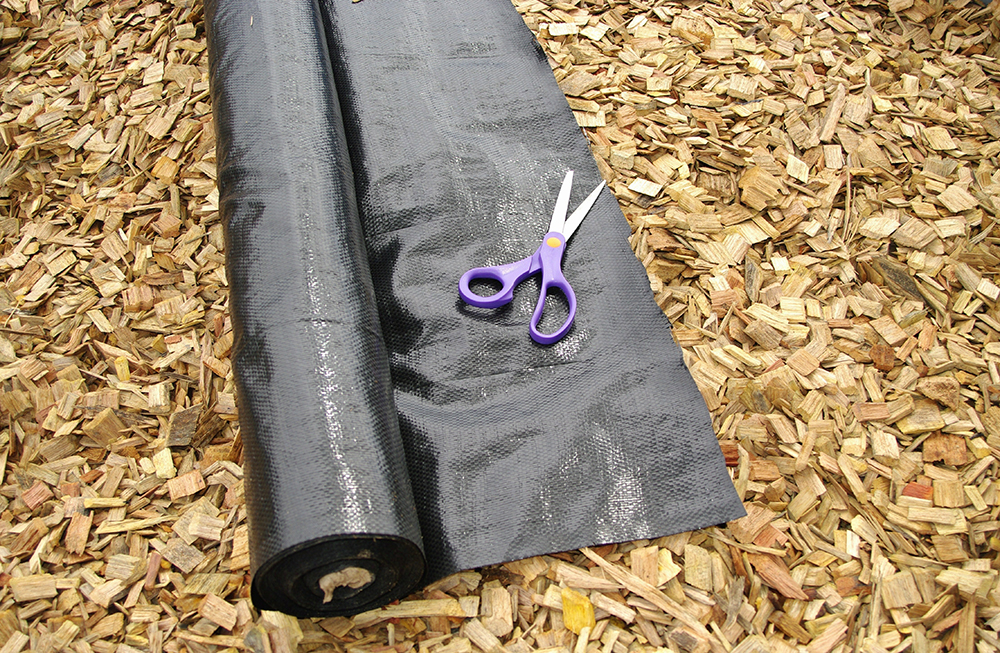
It is exasperating to try to keep up with weeds. Landscaping tarp is excellent for this job. The black tarp is perfect for both temporary and permanent weed control. Start by measuring the area to determine how much is needed. Next, the area needs to be raked free of mulch, encroaching litter, and twigs.
Permanent Weed Management
Define the area, secure the tarp needed and rake the ground level.
Test the soil to see if it needs anything, including fertilizer.
Lay the tarp out. Carefully cover the edges and corners. Use rocks, garden staples, or dirt to hold them down.
Add mulch on top of the tarp, spreading it evenly.
Put plants in the tarp by cutting crosses wherever they are wanted, sticking the plants in the ground. Be sure the cut is close enough to the plant allowing no weeds, and fill holes with fresh soil.
Temporary Weed Management
After the area has been raked and the tarp is ready, the soil needs to be fumigated to destroy bugs and pests.
Use a small cultivator or rototiller to dig up and loosen several inches of soil. A rototiller can be rented.
Water the soil.
Now have the tarp ready and cover the watered ground, sealing it at the edges with rocks, stakes, or soil.
Let this tarp sit for a week. Remove the tarp and cultivate the dirt again.
Use in Rock Gardens
Rock gardens, done right, are an exciting way to enhance the yard, especially on sloping yards. It helps keep the soil in place and anchors the plants between rocks. Once planted, rock gardens are almost free of chores. Again, begin figuring the amount of tarp needed and rake up debris and mulch. Test the soil and make adjustments such as fertilizer as needed. Set out the tarp and secure edges. Now add the rocks. Follow that with plantings by cutting holes in the tarp large enough for the plants and water. Add new soil as necessary.
Decoratively, roll rocks in place around plants. Be sure the rocks do not block the new plant’s sunlight and use plants tolerant for rock gardens.
Creating walkways
A walkway will complete a formal garden and define spaces. A walkway can invite an audience along a path to enjoy the yard. Some tools needed should be gathered beforehand.
First, the walkway needs to be defined. Something is needed to outline the path, a hose, string, or spray paint. Also needed are:
- A flat spade named a coal shovel.
- A rake
- Something to tamp the soil by hand
- Crushed rock or stone.
- Edging to define the walkways
- Gravel or mulch
- Landscaping tarp
Making the Walkway
Once the walkway is defined, dig out the soil with the flat spade to about two inches,
Level the ground and tamp it down so it is not loose. Line the trench with crushed stone and water it. Tamp the stone evenly in place.
Lay landscaping tarp over the surface of flattened stone securing edges with pins. Add edging. Fill the path with whatever is decided, gravel, pavers, or more mulch.
Other Uses for Landscaping Tarps
Use a tarp to cover items that weather might damage or get constant exposure: woodpiles, barbecue equipment, firewood, trailers, gardens in winter.
If deer or rabbits eat the plants, a clear tarp covering the plants will allow them sunlight and stop the animals from feasting. A clear tarp will capture the heat from a fall sun giving the garden more growing time. It will protect plants from animals.
Place a tarp beneath trees to collect dropped fruit that otherwise rots on the ground. Place beneath nut trees to gather the nuts.
Use the tarp to gather leaves.
Use a tarp to clean up the yard, rake debris or collect material on the tarp for disposal.